Implementing reCAPTCHA On Your Site
Wednesday, 24th November 2021


Google's reCAPTCHA service helps protect your website forms from being overwhelmed with spam
Google's reCAPTCHA is a helpful service that protects any forms on your website from being overrun with spam bots or people trying to cause harm to your website. This can range from a few unwanted emails to your whole site being taken down because the server is overwhelmed, so it is an important thing to have in place.
You will probably be familiar with the common reCAPTCHA where you tick a box and then have to select all the traffic lights or zebra crossings in a grid of 9 pictures, however Google introduced a more modern and less intrusive version, v3.0, in October 2018. This new version sits in the background of the website and you never need to interact with it, which helps with user satisfaction, and is more likely to keep people on your site than if they have to spend 5 minutes trying to figure out where they missed a bus in the last 9 pictures!
So how do you set this up?
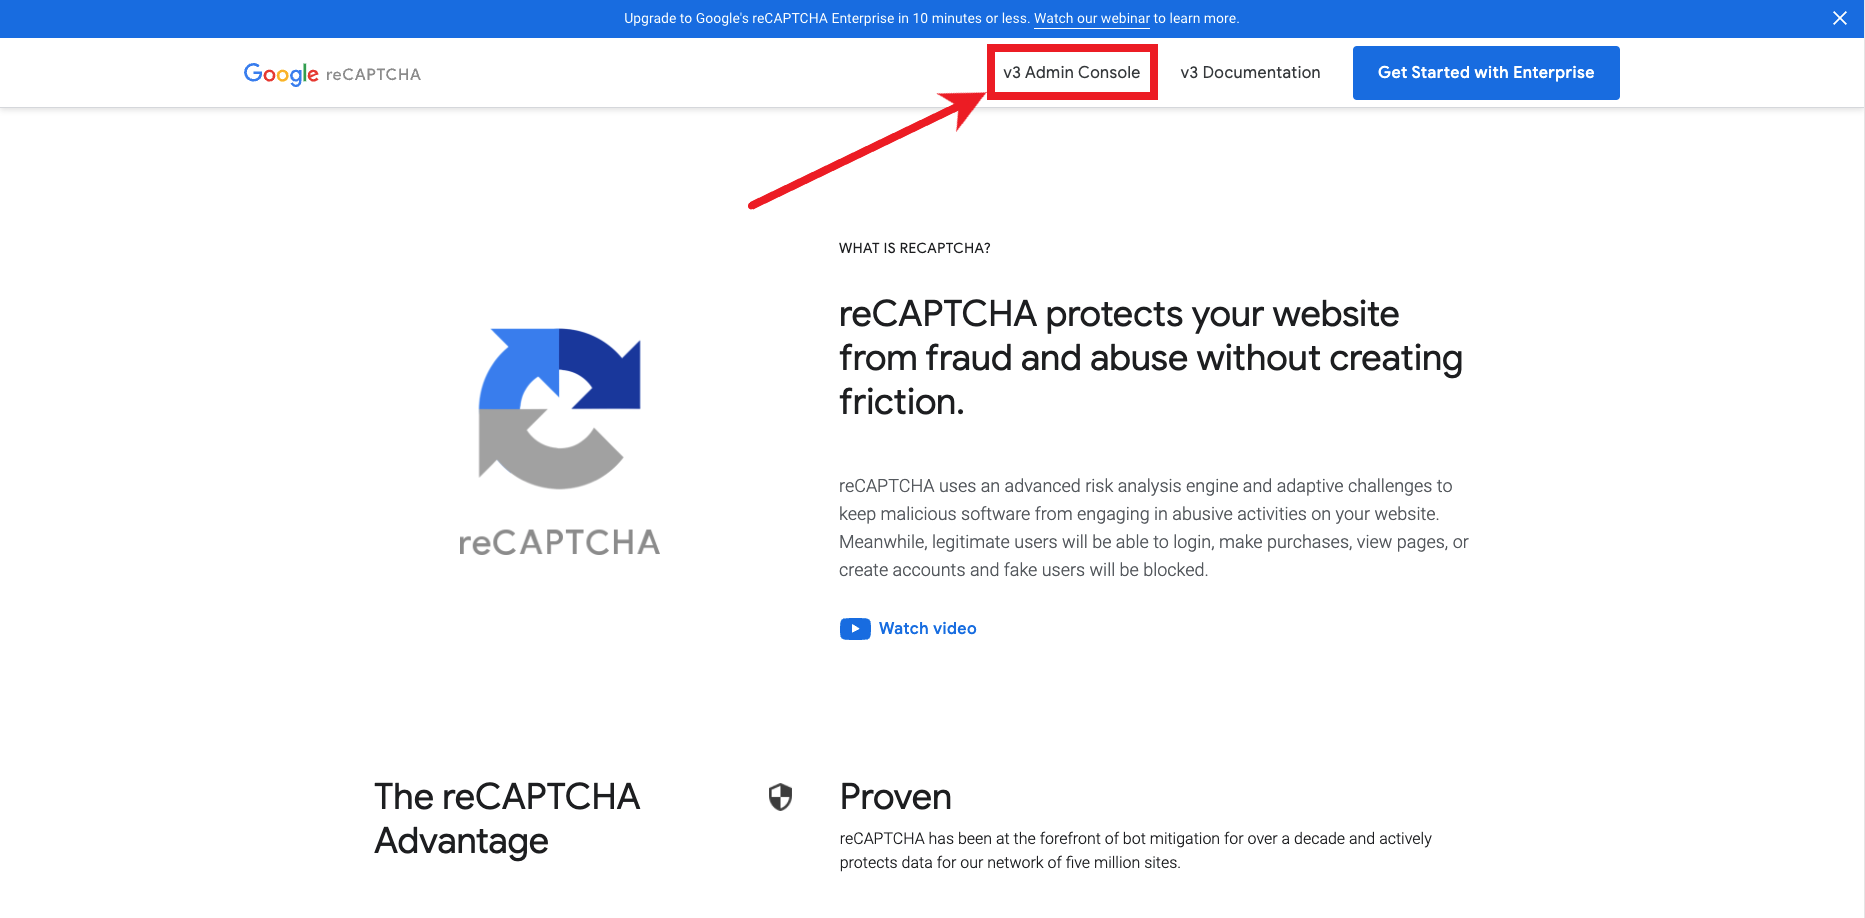
The first thing you will need to do is sign into or make a Google account. If you already use Google analytics or Google console then you can use the same account. If you have a Gmail account this will work too. Once you are logged in you can navigate to this page to start with the set-up process. When you are on this page you will need to navigate to the v3 Admin Console as show in the image below.
Once there you should see a page like the one shown in the image below. If you see a different page you may already have a website connected to your email account for reCAPTCHA and you will need to click on the + logo next to the cog and download logos in the navigation bar to create a new one and end up on the right page.

On this page you will need to do a few things;
The first is you will need to give your site a name and enter it into the label box, this can be any name but for ease it would be best to use the name of the website this will be used on.
The next step is to select your reCAPTCHA type, we will be choosing reCAPTCHA v3.
For the domains box, you will need to follow a precise format to make sure it is accepted. You must enter your website address here in the format 'website.co.uk' for a website http://www.website.co.uk. This means you must not include http:// or https:// and you must not include www. before the main part of the address. If we are making a website for you we may need you to enter a few more domains here so that we can use the service while we are developing the site.
Next you have the owners section, which by default will just have your email address in and a space to enter email addresses. If you have other people who will be managing this service for you then you can enter their email addresses here to give them access. This is where you can enter our details, if you'd like us to help sort this out for you.
Finally, you can accept the reCAPTCHA Terms of Service and click submit at the bottom of the page. If the submit button doesn't work, it is likely the format of your domains so I would double check to make sure it is the right format without http://, https:// or www. at the start.
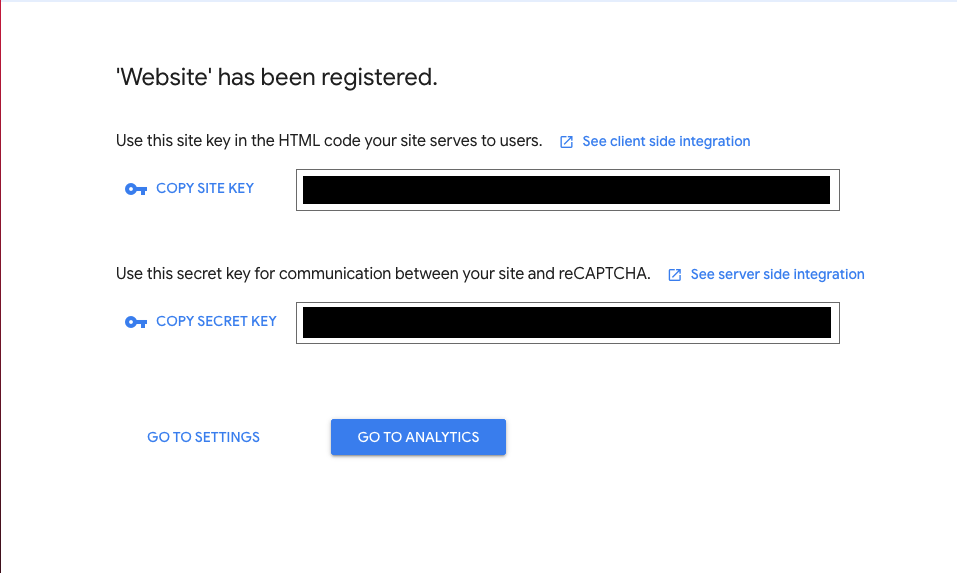
Once you have successfully moved onto the next page you should see something like the image shown below with a secret key and a site key. We will need these secret keys to implement the service into your website. If you are implementing this service yourself then you can follow the instructions here to get it working.
That's it! Now your site's forms should be protected from any spam. If you have any other questions be sure to get in touch and we can help you along.


